Books and sections
Verkilo organizes a project into books, and each book into sections. This two-level structure is enough to hold anything from a standalone novel to a long-running series.
Adding a book#
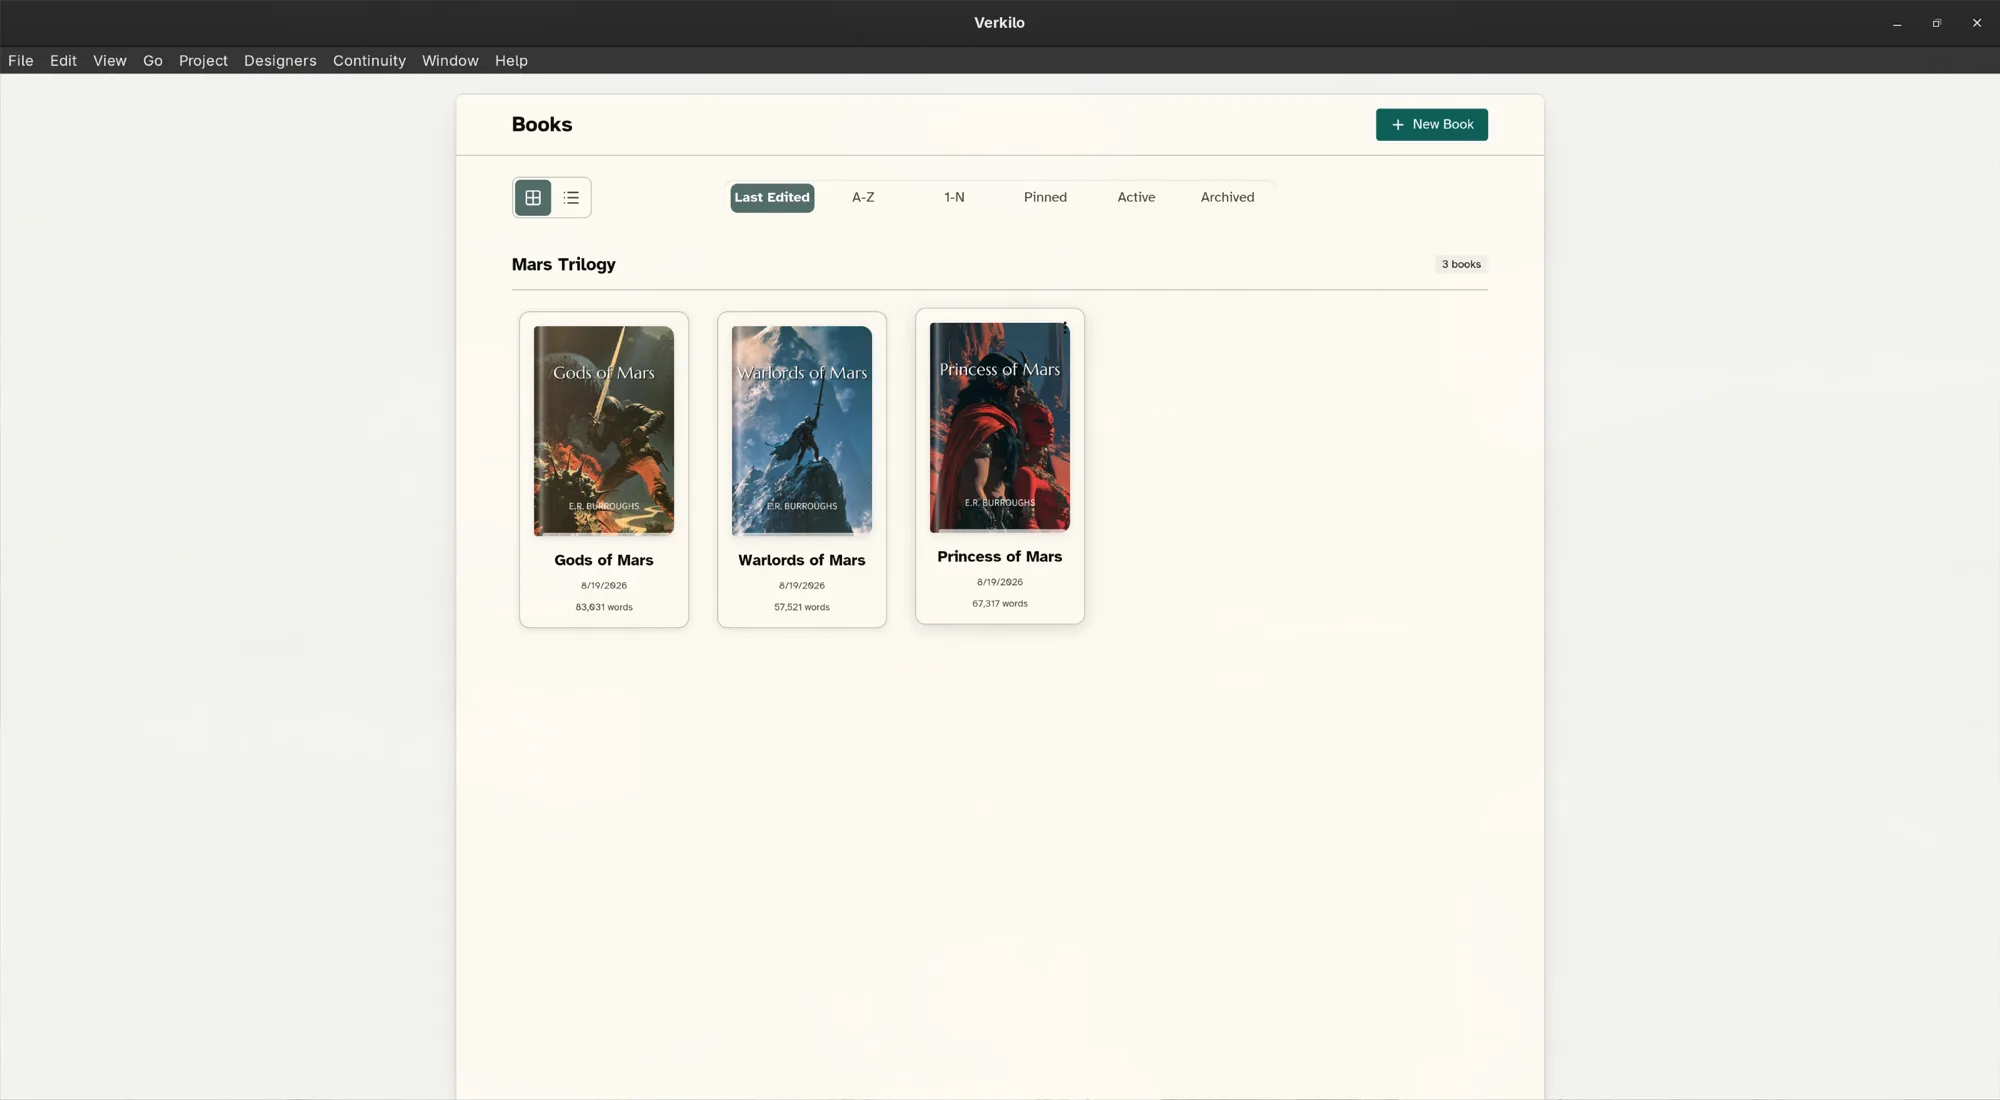
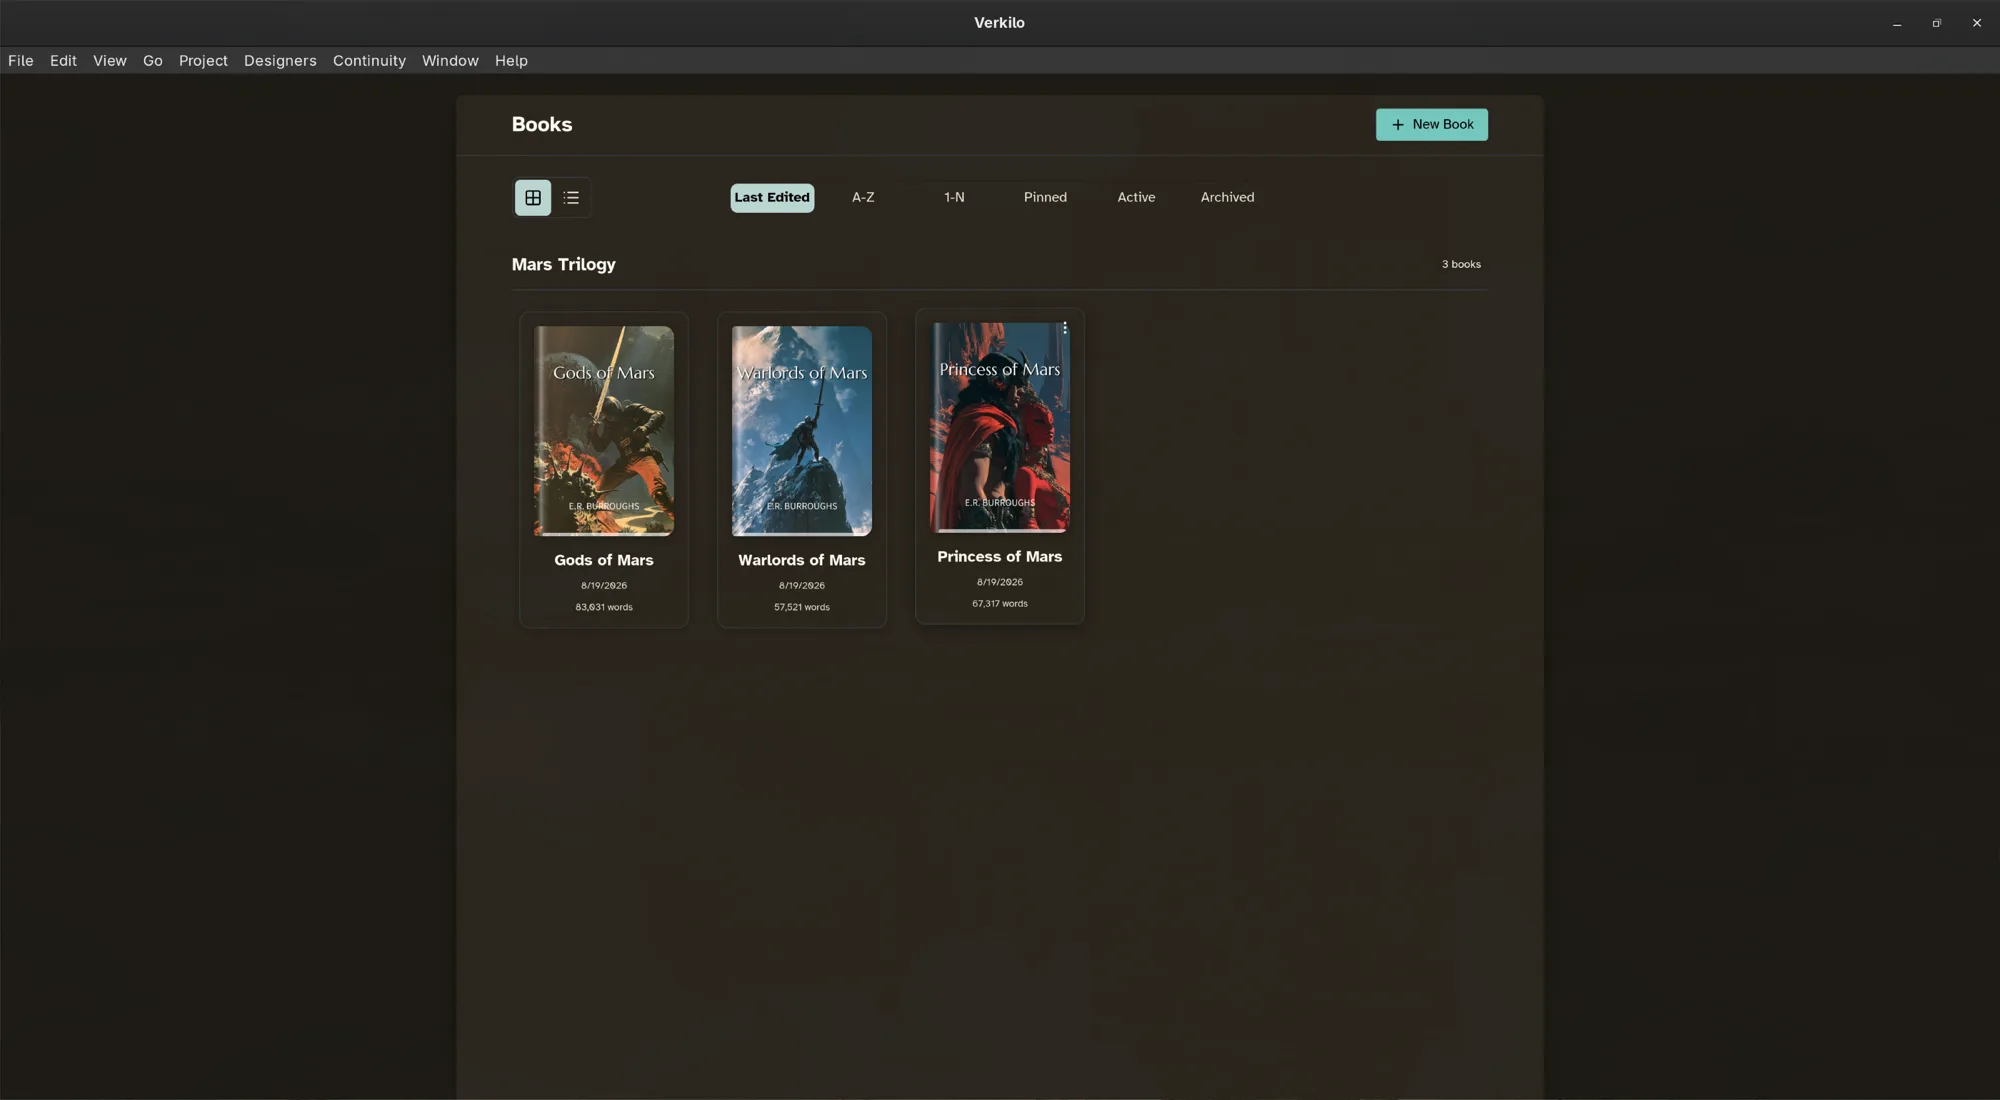
A project can contain multiple books — the volumes of your series — all sharing one Series Bible.
- Go to Books (
⌘1/Ctrl+1). - Click New Book. It’s created and opened straight away.
- Click the Book settings button on the book’s card to set its title, author, ISBN, the copyright details exports use, and its front and back matter.
Switch between books from the same Books view at any time.
Archiving and trashing a book#
When a book is finished — or shelved — you have two different moves, both in the ⋮ menu at the top of the book’s settings page:
- Archive Book takes it off the working shelf. It’s still in the project, still exported with its bundle, and one click brings it back: filter the Books view by Archived and choose Unarchive.
- Move to Trash removes the book and its sections from the project. Like trashed sections, it can be restored from the Trash until you empty it.
Archive is for done; Trash is for gone.
Adding a section#
Sections are the scenes and chapters you write in.
- Open the book you’re working on.
- Right-click in the sidebar and choose Add New Section. Right-clicking an existing section adds the new one after it; right-clicking empty space adds it at the end. You can also click the + beside the book’s title at the top of the sidebar.
- Double-click the new section’s name, type the real title, and press
Enter.
To nest a scene under a chapter, right-click the parent section and choose Add Child Section. To pull a nested one back out, right-click it and choose Move to Top Level.
Chapters, and the pages around them#
The sidebar holds your story and nothing else: the book’s chapters, with their scenes inside them, sit straight under the book’s title.
The pages that come before and after the story — the title page, a dedication, acknowledgments, an About the Author page — aren’t sections in the sidebar. They live on the book’s Book settings page, on the Front & back matter tab. See Front and back matter.
Reordering#
Drag sections in the sidebar to reorder them. Because your character and location links live on the sections themselves, moving a scene never loses its connections.
You can also reorder from the corkboard or the outliner — all three views drive the same underlying order.
Splitting and merging#
When a section turns out to be two scenes:
- Click in the editor at the point where the second scene starts.
- Right-click and choose Split at Selection.
If you’d rather name the new section from its own text, select the line you want as the title first and choose Split with Selection as Title.
To go the other way, right-click a section and choose Merge with Next.
Choosing what gets exported#
Not every section belongs in every format. Right-click a section, choose Compile In, and pick one:
- All Formats — the default. Included everywhere.
- Ebook Only — in your EPUB, left out of PDF and DOCX.
- Print Only — in your PDF and DOCX, left out of the EPUB.
- None (Reference Only) — kept in the project, never exported. Use it for outlines and research you want beside the manuscript.
Duplicating and deleting#
Right-click a section for Duplicate, which copies its text and its links.
Trash removes a section from the manuscript without destroying it. Trashed sections wait in the Trash, at the bottom of the rail, where you can restore them or remove them for good.