Tracking characters
Characters are usually the first thing you track in the Series Bible. Each one has a profile you build up over time and an up-to-date list of every scene they appear in.
Creating a character#
- Go to Characters (
⌘4/Ctrl+4). - Right-click in the character list and choose Add New Character.
- A character called “New Character” appears, with the profile open beside it.
- Type the real name over Character Name.
You can also create one without leaving your scene — see below.
Filling in the profile#
Nothing here is required. Fill in what you know, and let the rest arrive as you write.
The Profile tab holds:
- Tagline — a line that sums the character up. Worth writing early; it’s what you see in the list.
- Role — their part in the story.
- Summary — who they are, in a sentence or two.
- Profile — the long form: backstory, appearance, the details you’ll need to
stay consistent about in book four.
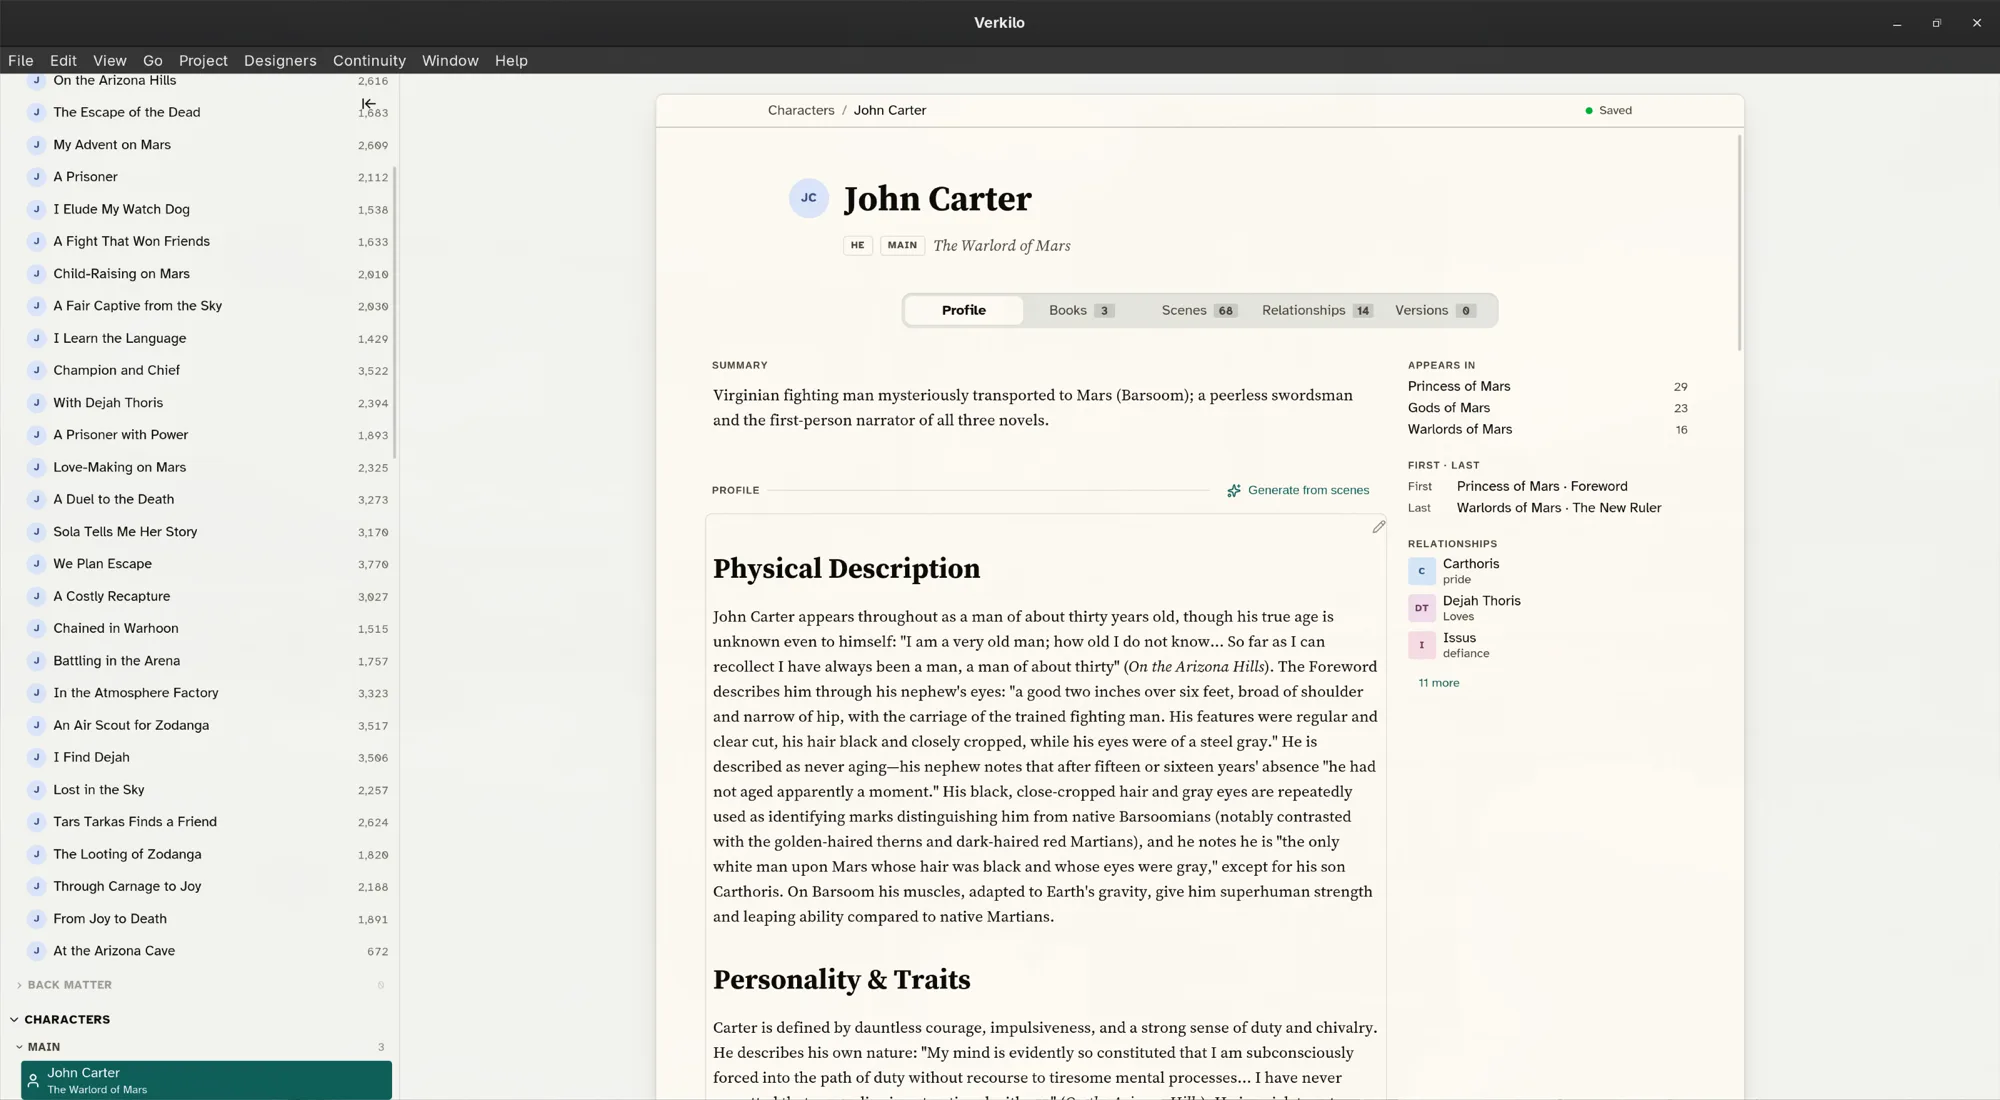
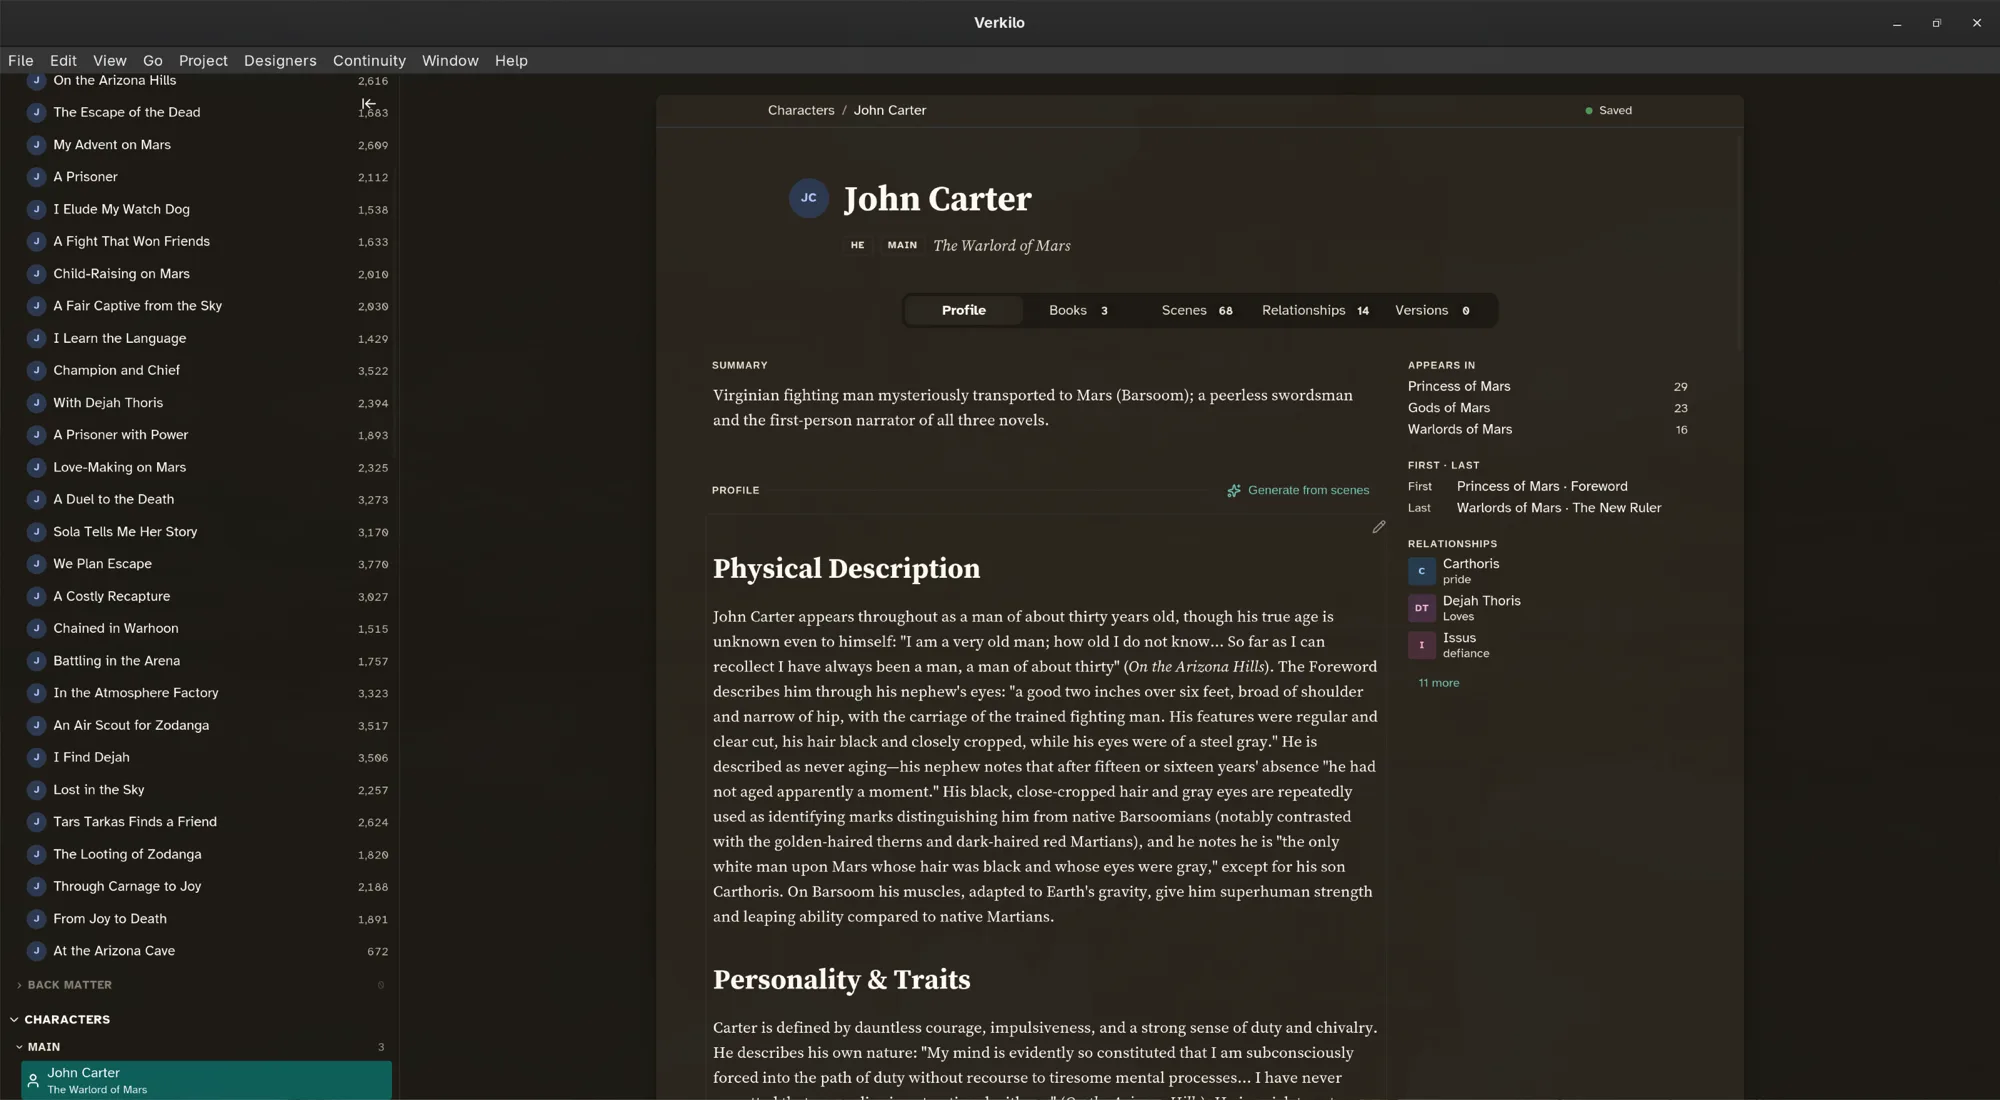
The other tabs fill themselves in as you work:
- Books — which books they appear in.
- Scenes — every section they’re linked to, in order.
- Relationships — their connections to other characters.
Linking a character to a scene#
This is the link that makes everything else work.
- Open the section in the editor.
- In the details panel, go to Section Details.
- Click Add character… and start typing.
- Pick the character from the list.
If you type a name that doesn’t exist yet, Verkilo creates that character for you — so you can tag a walk-on in the middle of a draft and flesh them out later.
You can also link without leaving the text: type @ and the character’s name
in the editor, and the mention creates the link the moment you insert it.
To remove a link, hover over the character’s tag in Section Details — the icon becomes a trash can; click it. Removing the link doesn’t touch your prose.
From then on the link runs both ways: the character’s Scenes tab lists every appearance, and the section shows its cast. This is what lets you answer “when did we last see her?” without searching.
Marking the point-of-view character#
- Link the character to the section, as above.
- Right-click their chip in Section Details.
- Choose Set as POV.
The character now shows a POV badge on the section, in the sidebar, on the corkboard, and in the outliner. Choose Clear POV from the same menu to remove it. See Point of view for what to do with it.
Recording relationships#
- Go to Characters (
⌘4/Ctrl+4) and select a character. - Open the Relationships tab.
- Click Add Relationship.
- Search for the other character and select them.
- Choose the Emotion that describes how the first feels about the second.
- Add a line of Detail — what’s behind it.
- Choose the Book it applies to, so a relationship that changes over a series can be recorded book by book.
Relationships are directional. If the feeling isn’t mutual — and it often isn’t — record the other direction separately from the other character’s profile.
Following a character’s threads#
For the traits, objects, and secrets that travel with a character but aren’t the character, use keywords on the scenes themselves. A keyword gathers every section that touches the thread, which is what you want when you’re checking continuity across books.