The Verkilo workspace
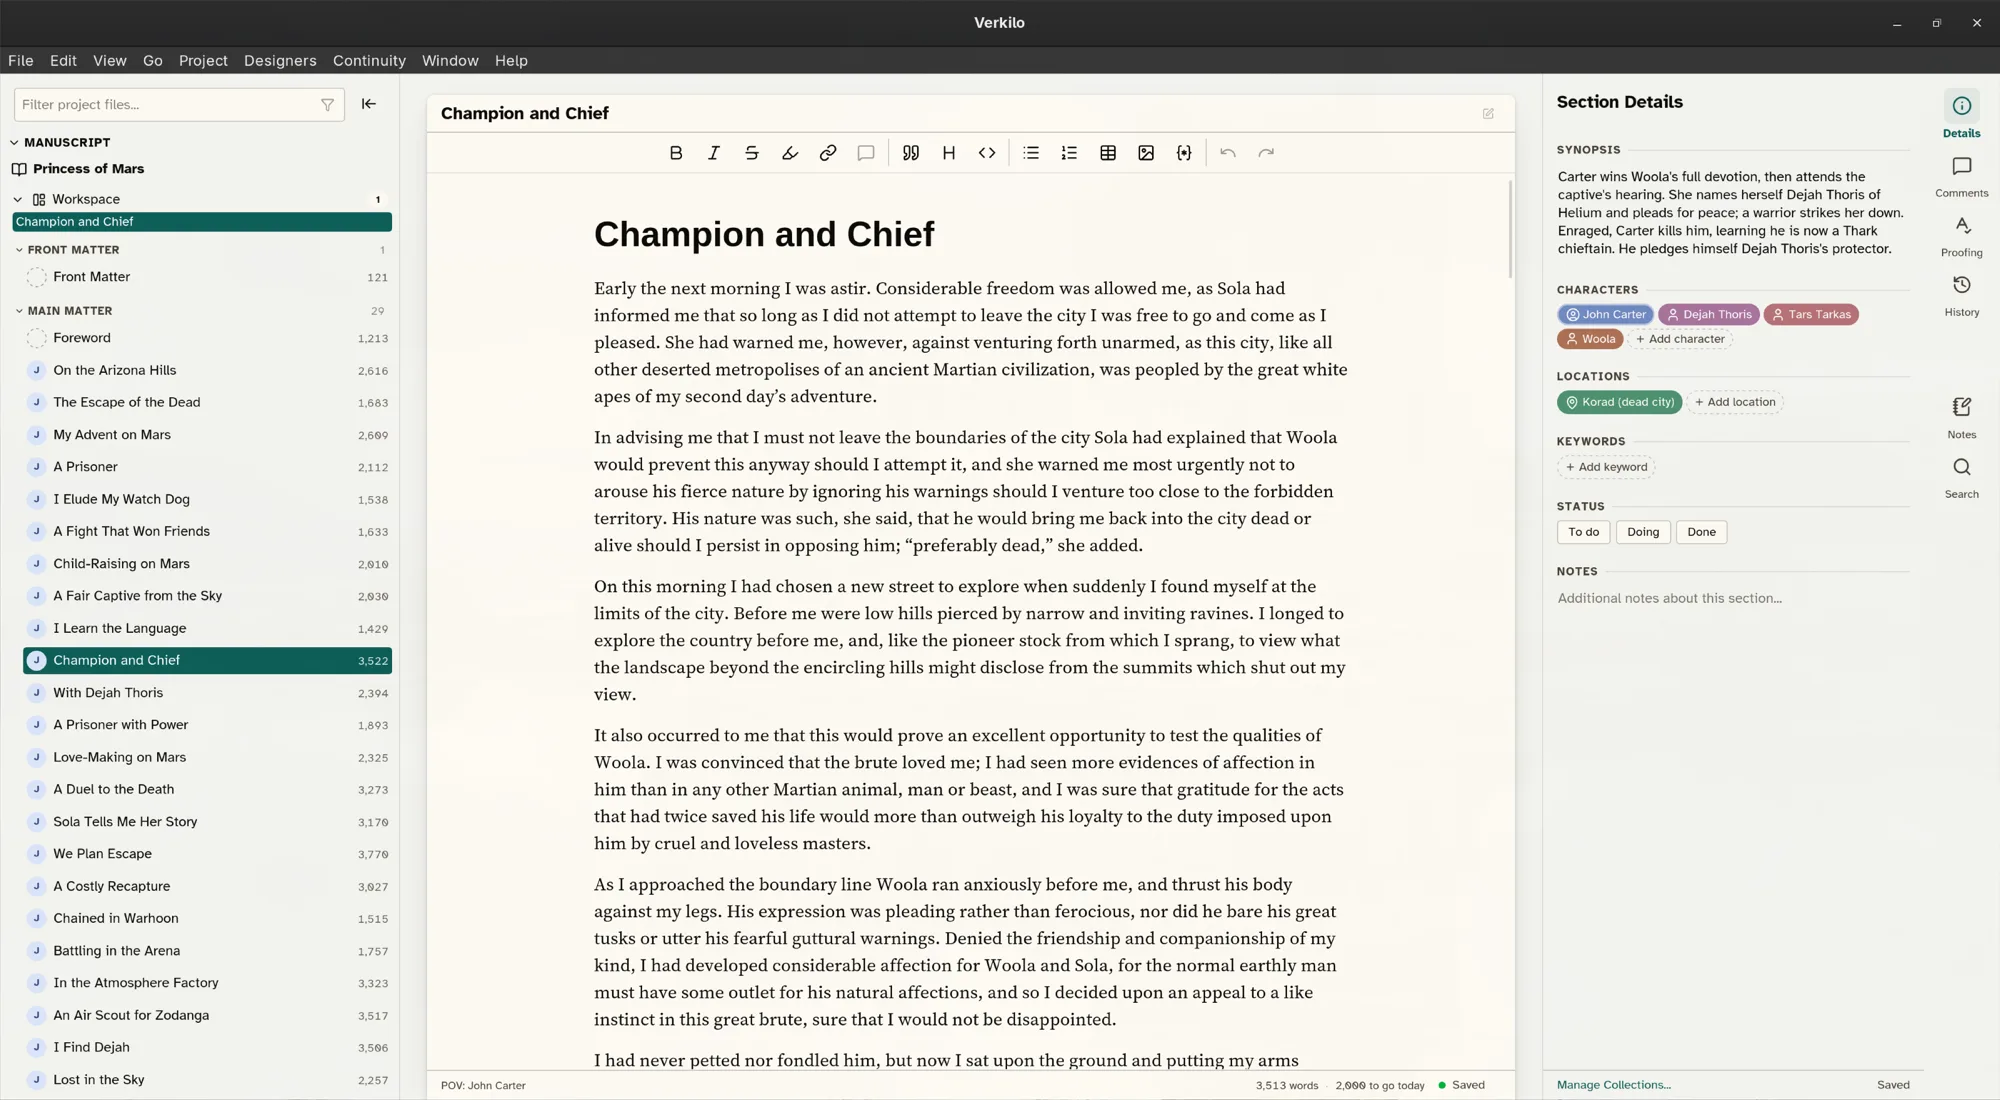
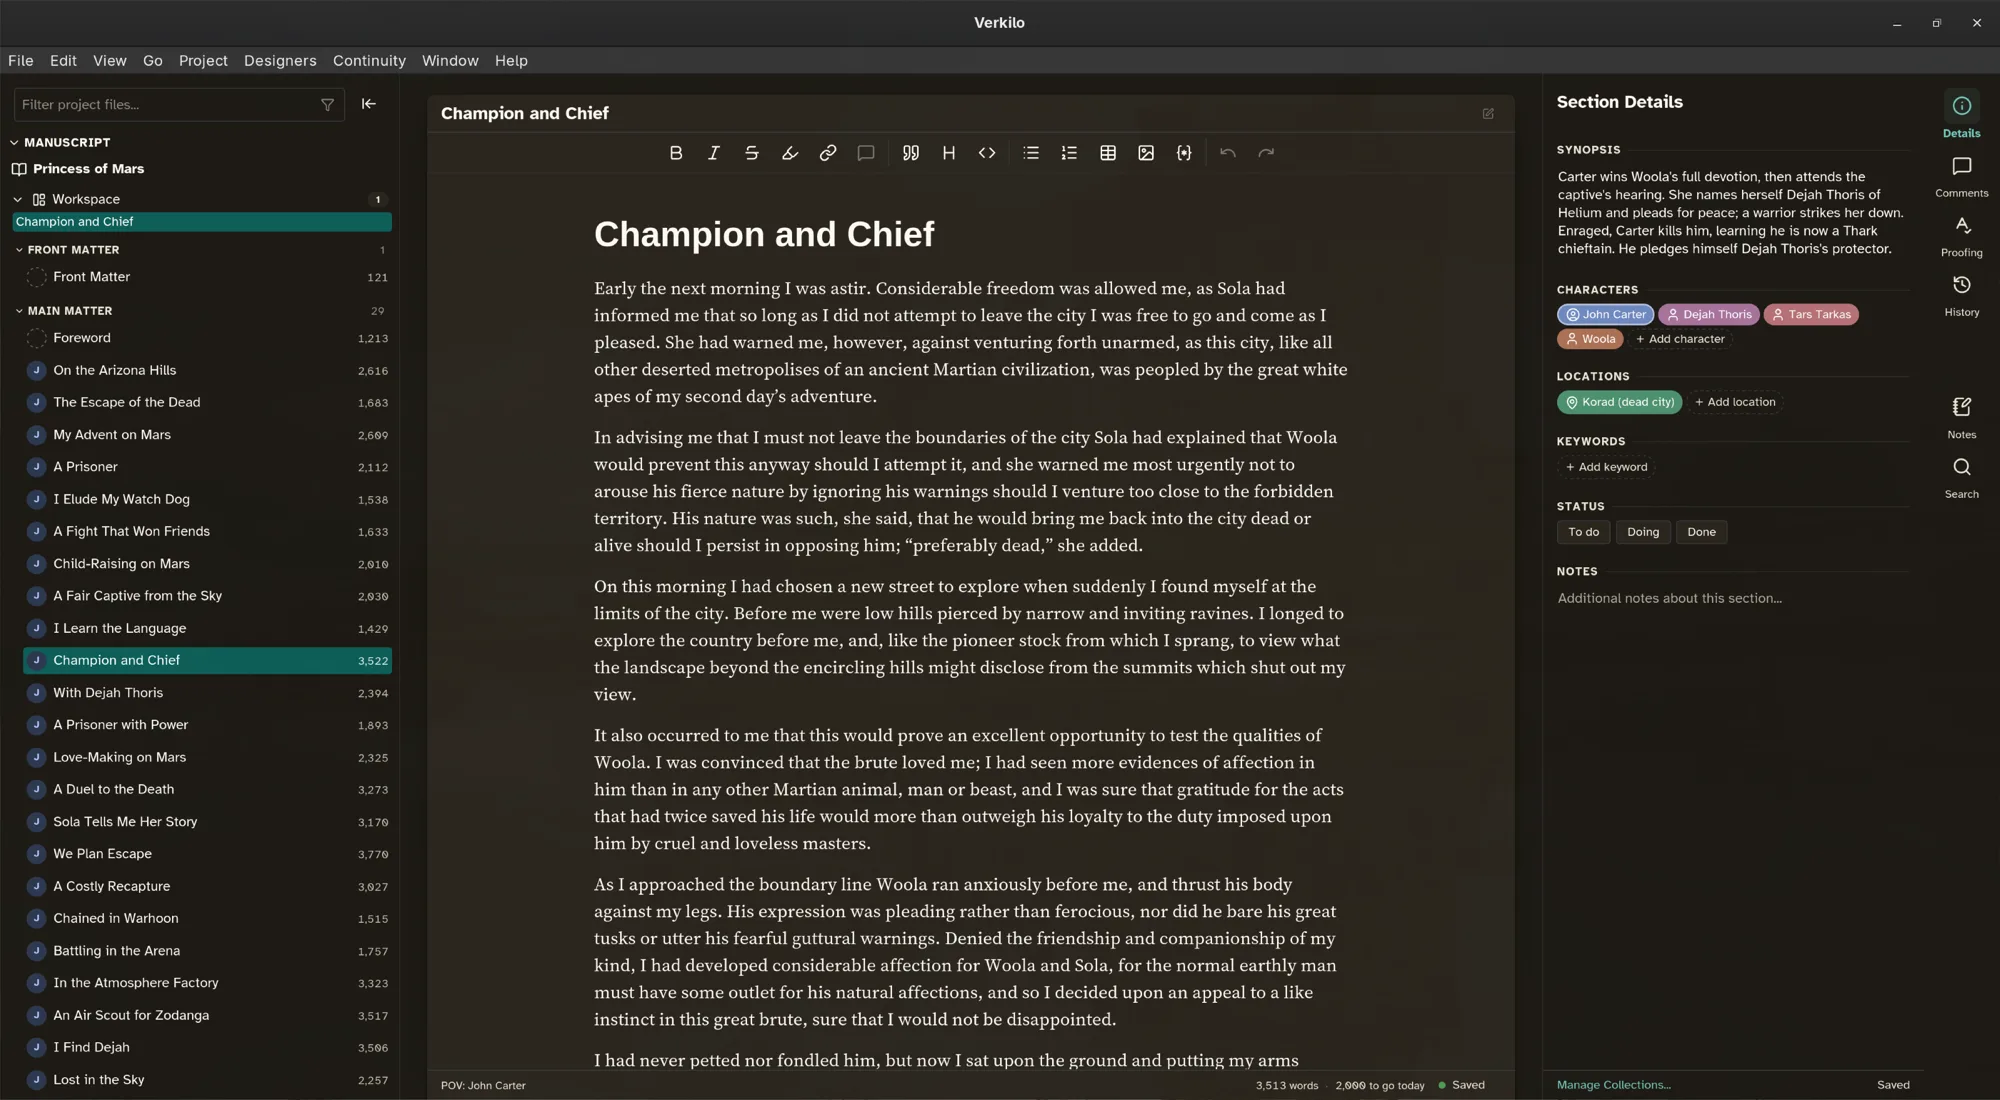
The Verkilo window is built around a few areas that stay out of your way until you need them.
The app bar#
A slim bar runs across the top of the window:
- On the left, the Sidebar button shows or hides the sidebar. The shortcut is
⌘./Ctrl+.. - In the middle is the title of the book you have open.
- On the right, a second button shows or hides the details panel.
The rail#
Down the left edge is the rail, a column of icons that takes you anywhere in one click. The icons stay dim until you move the pointer over the rail. Hover an icon to see its name and its keyboard shortcut.
From top to bottom, the rail holds:
- Your manuscript — Books, Editor, and Bundles.
- Your story bible — Characters, Locations, Keywords, Collections, Notebook, any kinds of entry you add yourself, and Timeline.
- Making the book — Reports, Gallery, Interior, Cover, and AI.
- Settings for this project, and the Trash at the very bottom.
The AI icon appears only after you add an API key for an AI provider, under Settings or the AI Settings menu item.
The sidebar#
Beside the rail, the sidebar shows only what the page you’re on is about.
- On the Editor, it shows the open book: its title, its bundle and place in it (“Bundle · Book 2”), and a + button to add a section. Under that are the book’s chapters and scenes.
- On Characters, it lists your cast with their portraits, main characters first.
- Locations, Keywords, Collections, the Notebook, and your own kinds each list their own entries.
Pages like Books, Reports, and Settings have no sidebar.
On the Editor, drag to reorder, click to open, and right-click anything for its actions — adding a section, duplicating one, sending one to the Trash. Most of Verkilo’s structural commands live in these menus rather than on buttons.
The sidebar holds only the story itself. Your dedication, acknowledgments, and other pages before and after it are kept with the book — see Front and back matter.
The editor#
The center is the editor — a clean, distraction-light writing surface. This is where you spend most of your time. A bar along its top shows where you are and lets you switch to the corkboard or outliner. See The editor for formatting, and Writing modes for a quieter, more immersive page.
The details panel#
On the right, the details panel shows what the current section is connected to: its point-of-view character, the characters and locations it features, and any keywords. Everything here feeds the Series Bible. Show or hide it with the button at the right end of the app bar.
The panel holds more than section details. Switch between its tabs to reach:
- Section Details — synopsis, notes, characters, locations, keywords.
- Version History — the snapshots of this section, with a preview and restore.
- Proofing — the spelling and grammar issues found in this section.
- Comments — notes anchored to a passage.
- Scratch Pad — a free-form pad that stays with the project.
- Find & Replace — search this section or the whole book.
The status bar#
Along the bottom of the window, the status bar keeps three things in view, at its right end:
- Today — the words you’ve written today against your daily goal, with a progress bar. A trophy appears once you reach it. See Word-count goals.
- The background tint — a colored dot and its name. Click it for the next tint.
- Light or dark — click the icon to step through Light, Dark, and System.
Moving around#
Hover a rail icon to see its shortcut. They’re also listed under the Go menu:
| Destination | Shortcut |
|---|---|
| Books | ⌘1 / Ctrl+1 |
| Editor | ⌘2 / Ctrl+2 |
| Notebook | ⌘3 / Ctrl+3 |
| Characters | ⌘4 / Ctrl+4 |
| Locations | ⌘5 / Ctrl+5 |
| Keywords | ⌘6 / Ctrl+6 |
| Collections | ⌘7 / Ctrl+7 |
| Bundles | ⌘8 / Ctrl+8 |
| Reports | ⌘⇧R / Ctrl+Shift+R |
| Timeline | ⌘⇧L / Ctrl+Shift+L |
| Analytics (your writing history) | ⌘⇧A / Ctrl+Shift+A |
Working in two panes#
To read one scene while writing another:
- Press
⌘\/Ctrl+\, or choose View → Toggle Split Editor. - Right-click a different section in the sidebar and choose Open in Split View to load it beside the current one.
- Move between panes with
⌘⌥←/Ctrl+Alt+←and⌘⌥→/Ctrl+Alt+→. - Close the second pane with
⌘⇧W/Ctrl+Shift+W.
Light and dark#
Verkilo follows your system’s light or dark preference and remembers an explicit choice.
- Press
⌘⌥A/Ctrl+Alt+A, or choose View → Cycle Appearance, to step through light, dark, and system. - For a warmer or cooler page, press
⌘⌥T/Ctrl+Alt+T(View → Cycle Background Tint). The tints are Olive, Taupe, Blush, Mist, and Stone. - Or use the status bar: click the tint’s name for the next tint, and the theme icon for Light, Dark, or System.
- To pick a setting directly instead of cycling, open Settings (
⌘,/Ctrl+,) and choose Appearance, where Theme, Contrast, and Background Tint each have their own control.
On macOS, Settings sits in the Verkilo menu; on Windows and Linux it’s at the bottom of the View menu.