The outliner
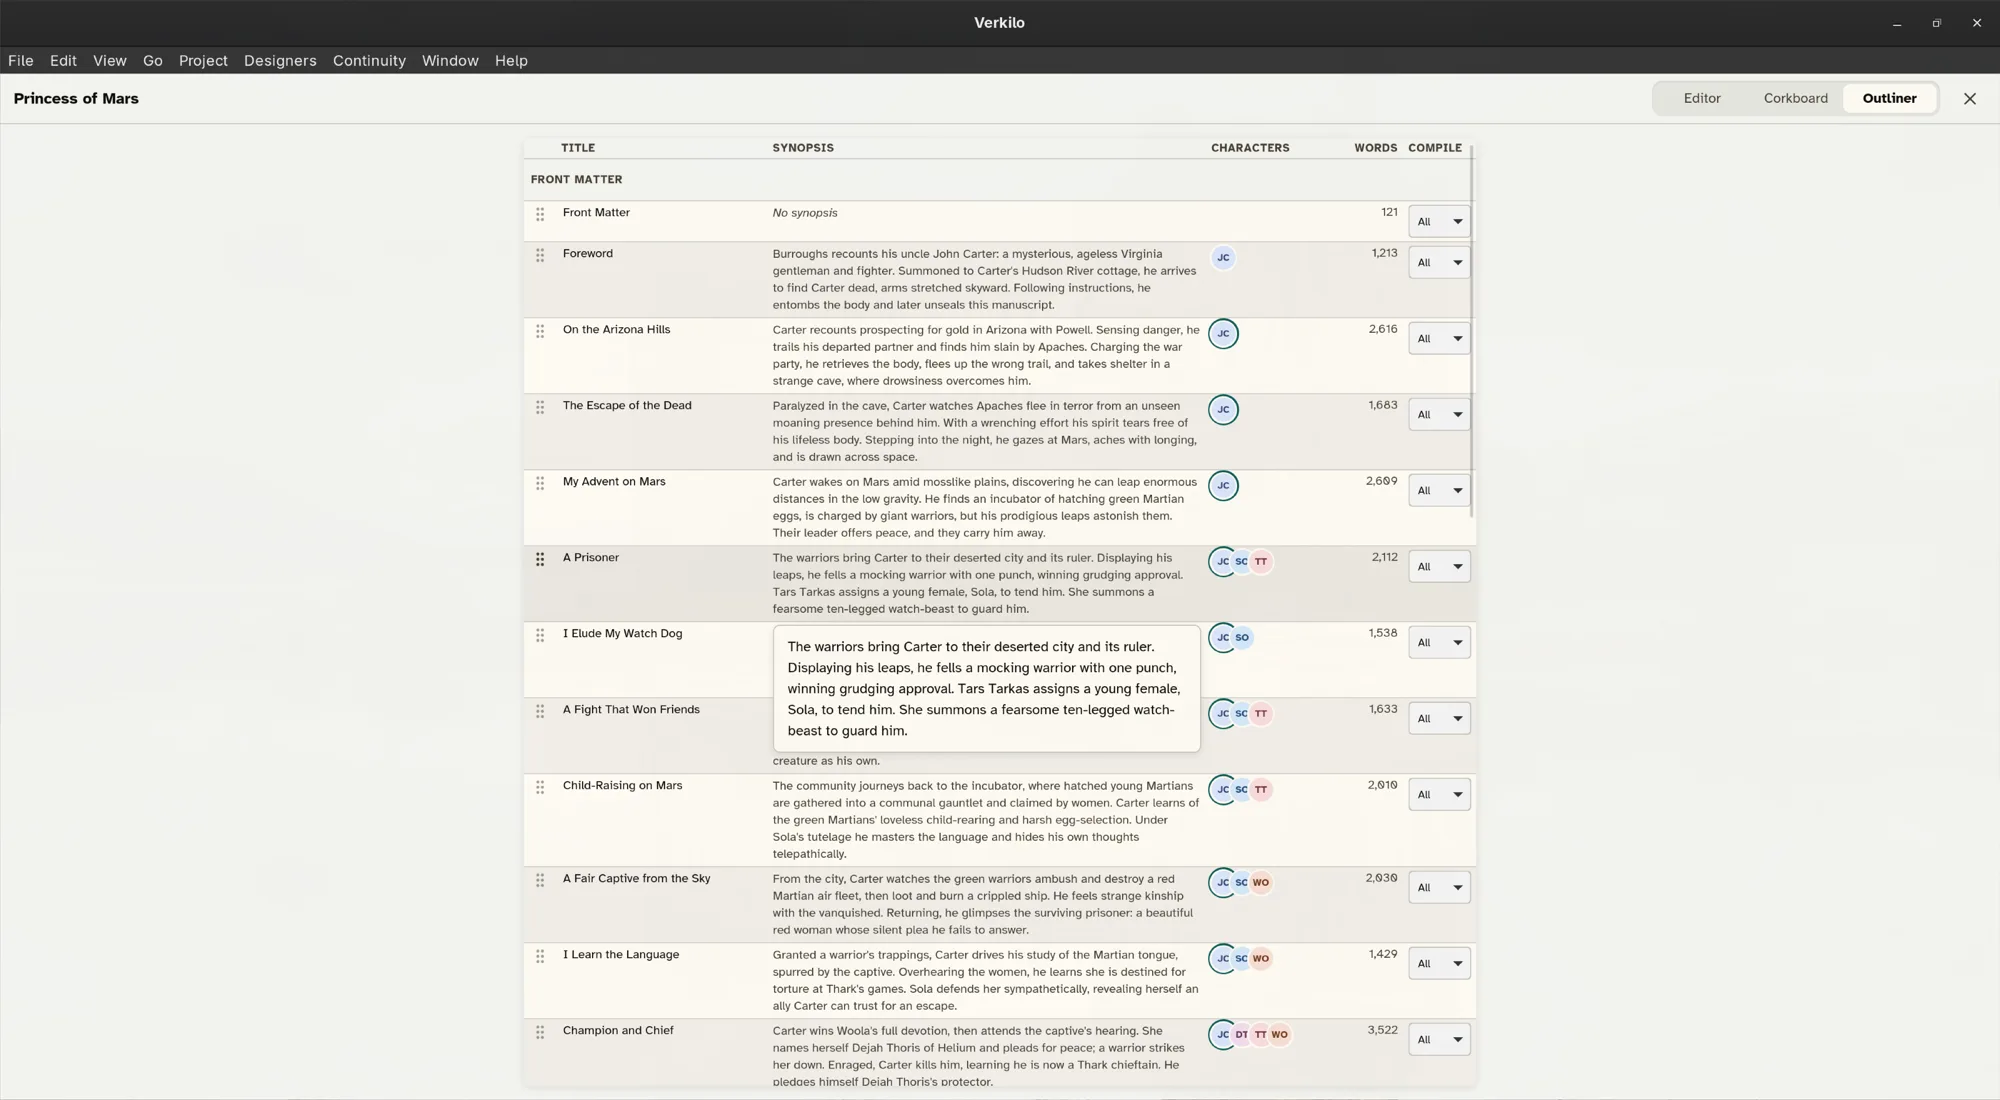
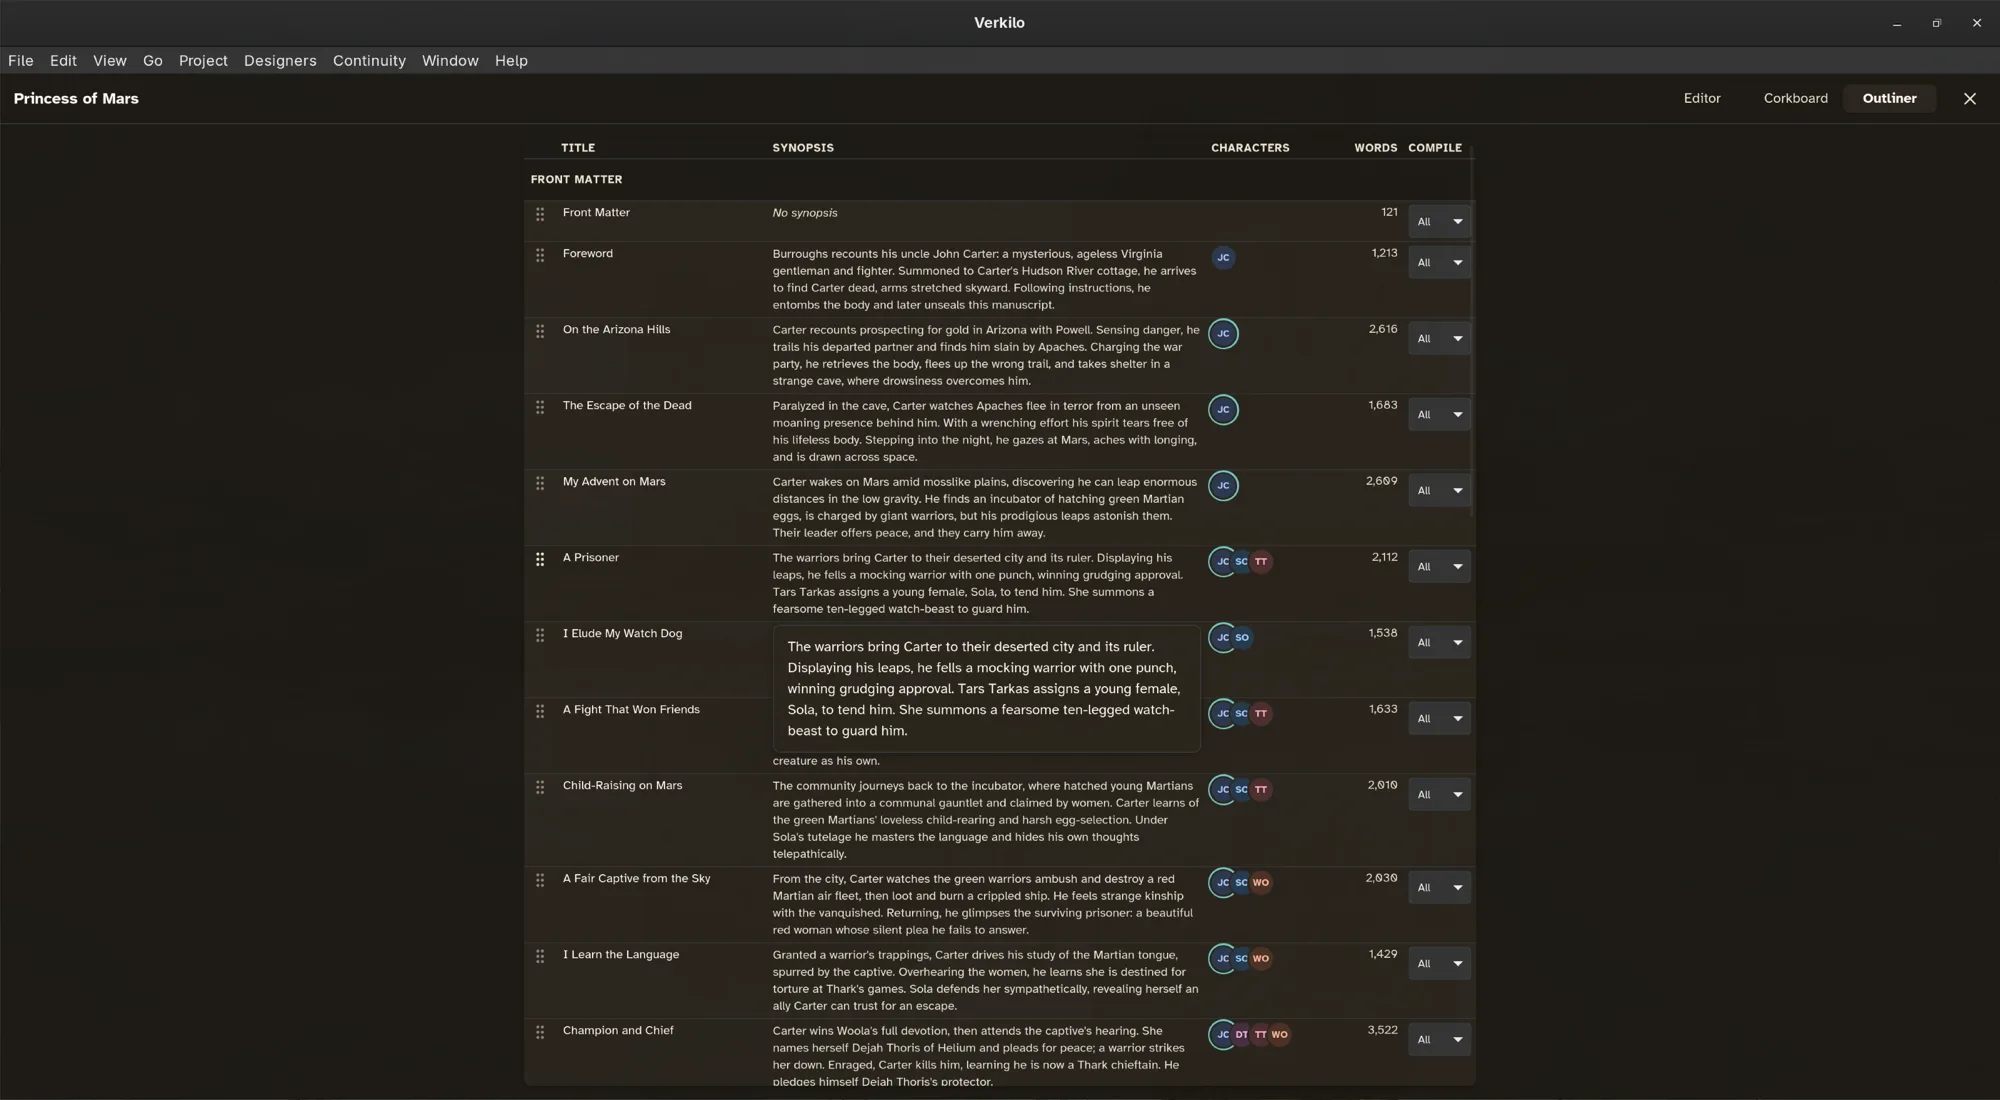
The outliner presents your sections as a structured table, with the metadata that matters for planning laid out in columns.
Opening it#
- Open the book you want to work on in the editor.
- Click Outliner in the bar above the page. The table opens in place of the page, with the bar still above it.
- Click Editor in that bar, or press
Esc, to go back to writing.
Switching between Editor, Corkboard, and Outliner from that bar keeps you in place — it’s one book seen three ways.
What the columns show#
| Column | What it holds |
|---|---|
| Title | The section’s name |
| Synopsis | Your one- or two-line summary |
| Words | The section’s current length |
| Characters | Everyone linked to the scene, with the POV character marked |
| Compile | Which formats the section exports to |
It’s the fastest way to audit a whole book — to check that every scene has a POV,
or that a subplot appears where it should.
Editing in place#
Both text columns are editable without leaving the table:
- Double-click a Title or Synopsis cell.
- Type your change.
- Press
Enter, or click away, to commit it.
From the keyboard, move between rows with ↑ and ↓, press F2 to edit the
selected row’s title, and press Enter to open that section in the editor.
Reordering#
Drag a row by its handle in the left-hand column to move a section. Changes flow everywhere at once — the sidebar and the corkboard follow immediately, because all three views drive one underlying order.
Setting compile targets in bulk#
The Compile column is a dropdown on every row, which makes the outliner the quickest place to decide what ships:
- Open the outliner and read down the Compile column.
- Change any row that shouldn’t go everywhere — Ebook, Print, or None.
- Go back to the editor. Your next export honors the change.
Pairing with keywords#
Combine the outliner with keywords to see a single thread across a book and revise it end to end.