Keywords and tags
Not everything worth tracking is a character or a place. Keywords let you follow anything — a magic sword, a recurring motif, a subplot — across your whole project.
Creating a keyword#
- Go to Keywords (
⌘6/Ctrl+6). - Right-click in the keyword list and choose Add New Keyword.
- Type the name over Keyword Name.
- Give it a color, so it’s recognizable at a glance on a scene.
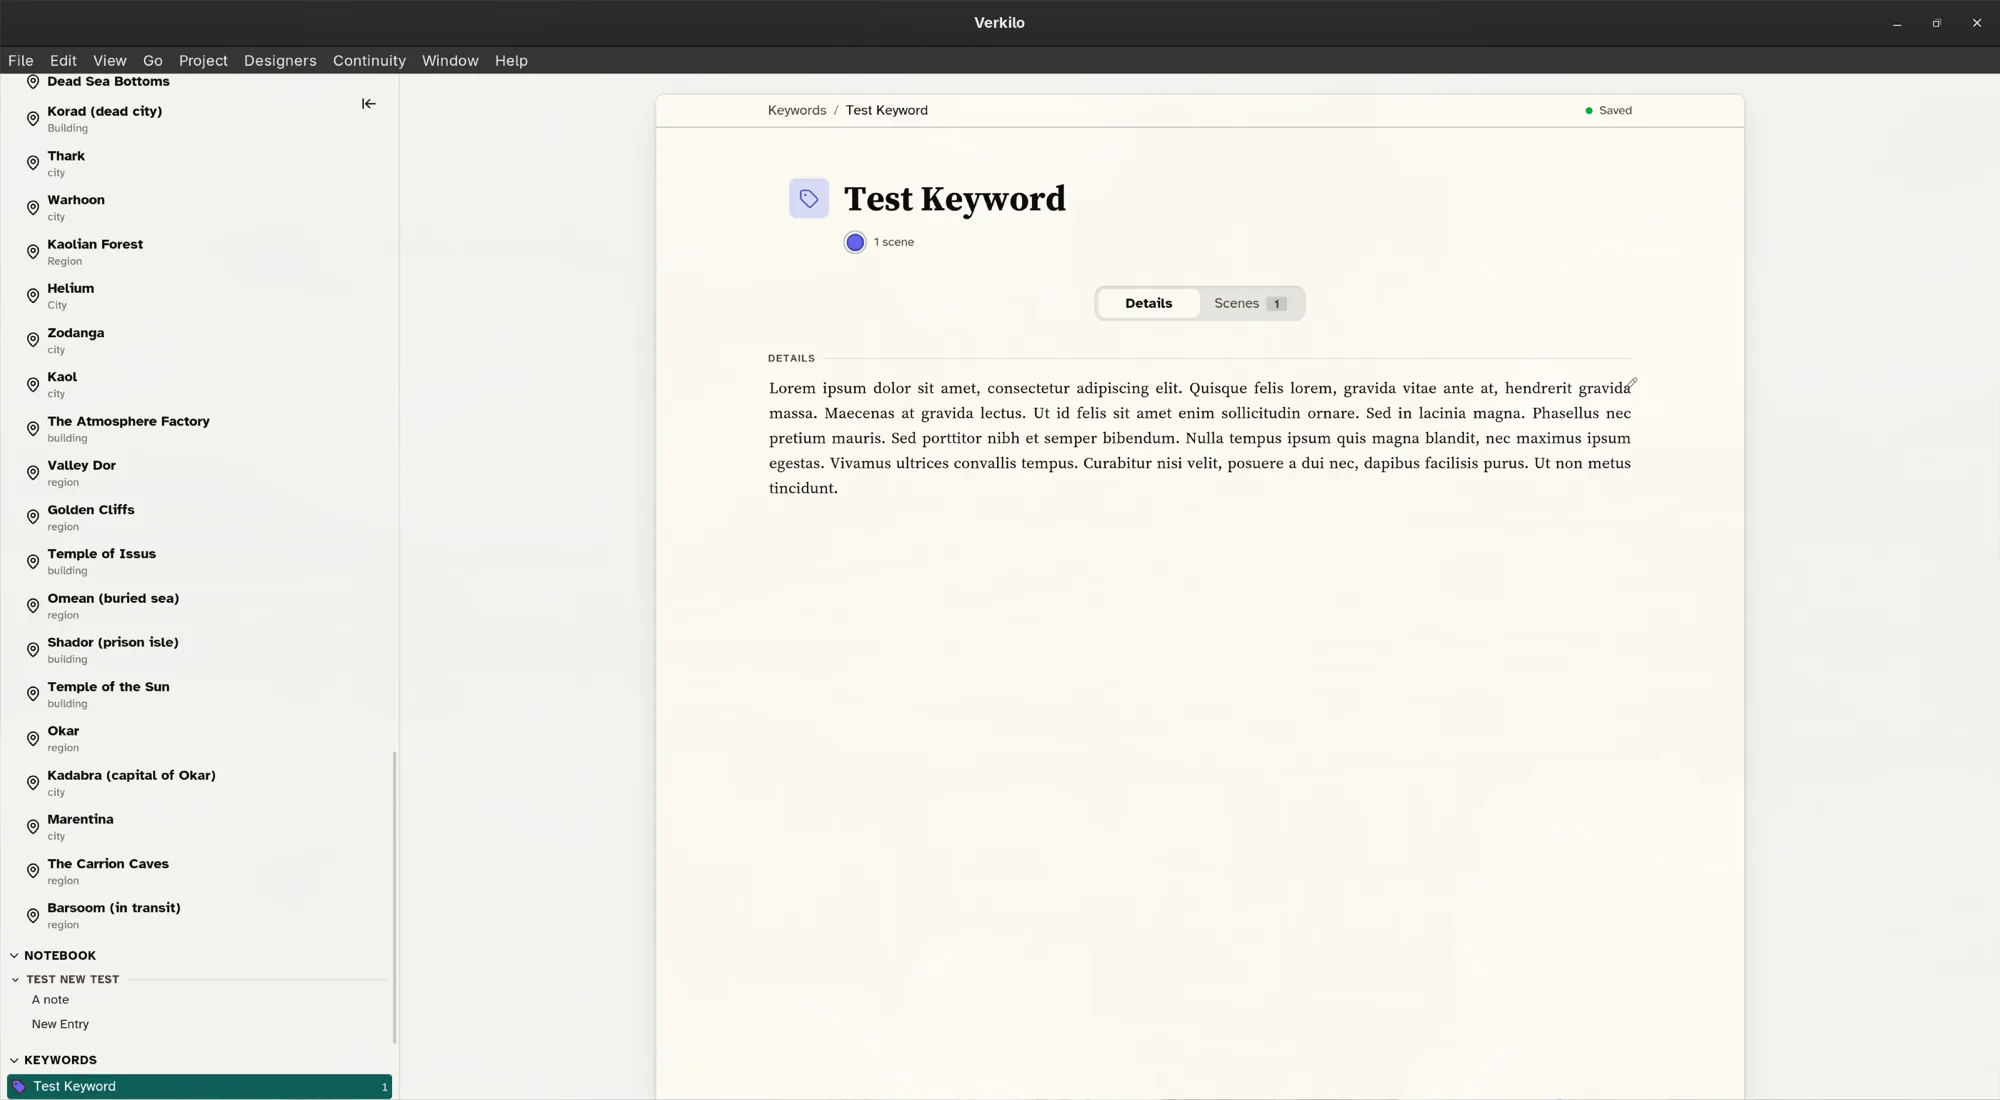
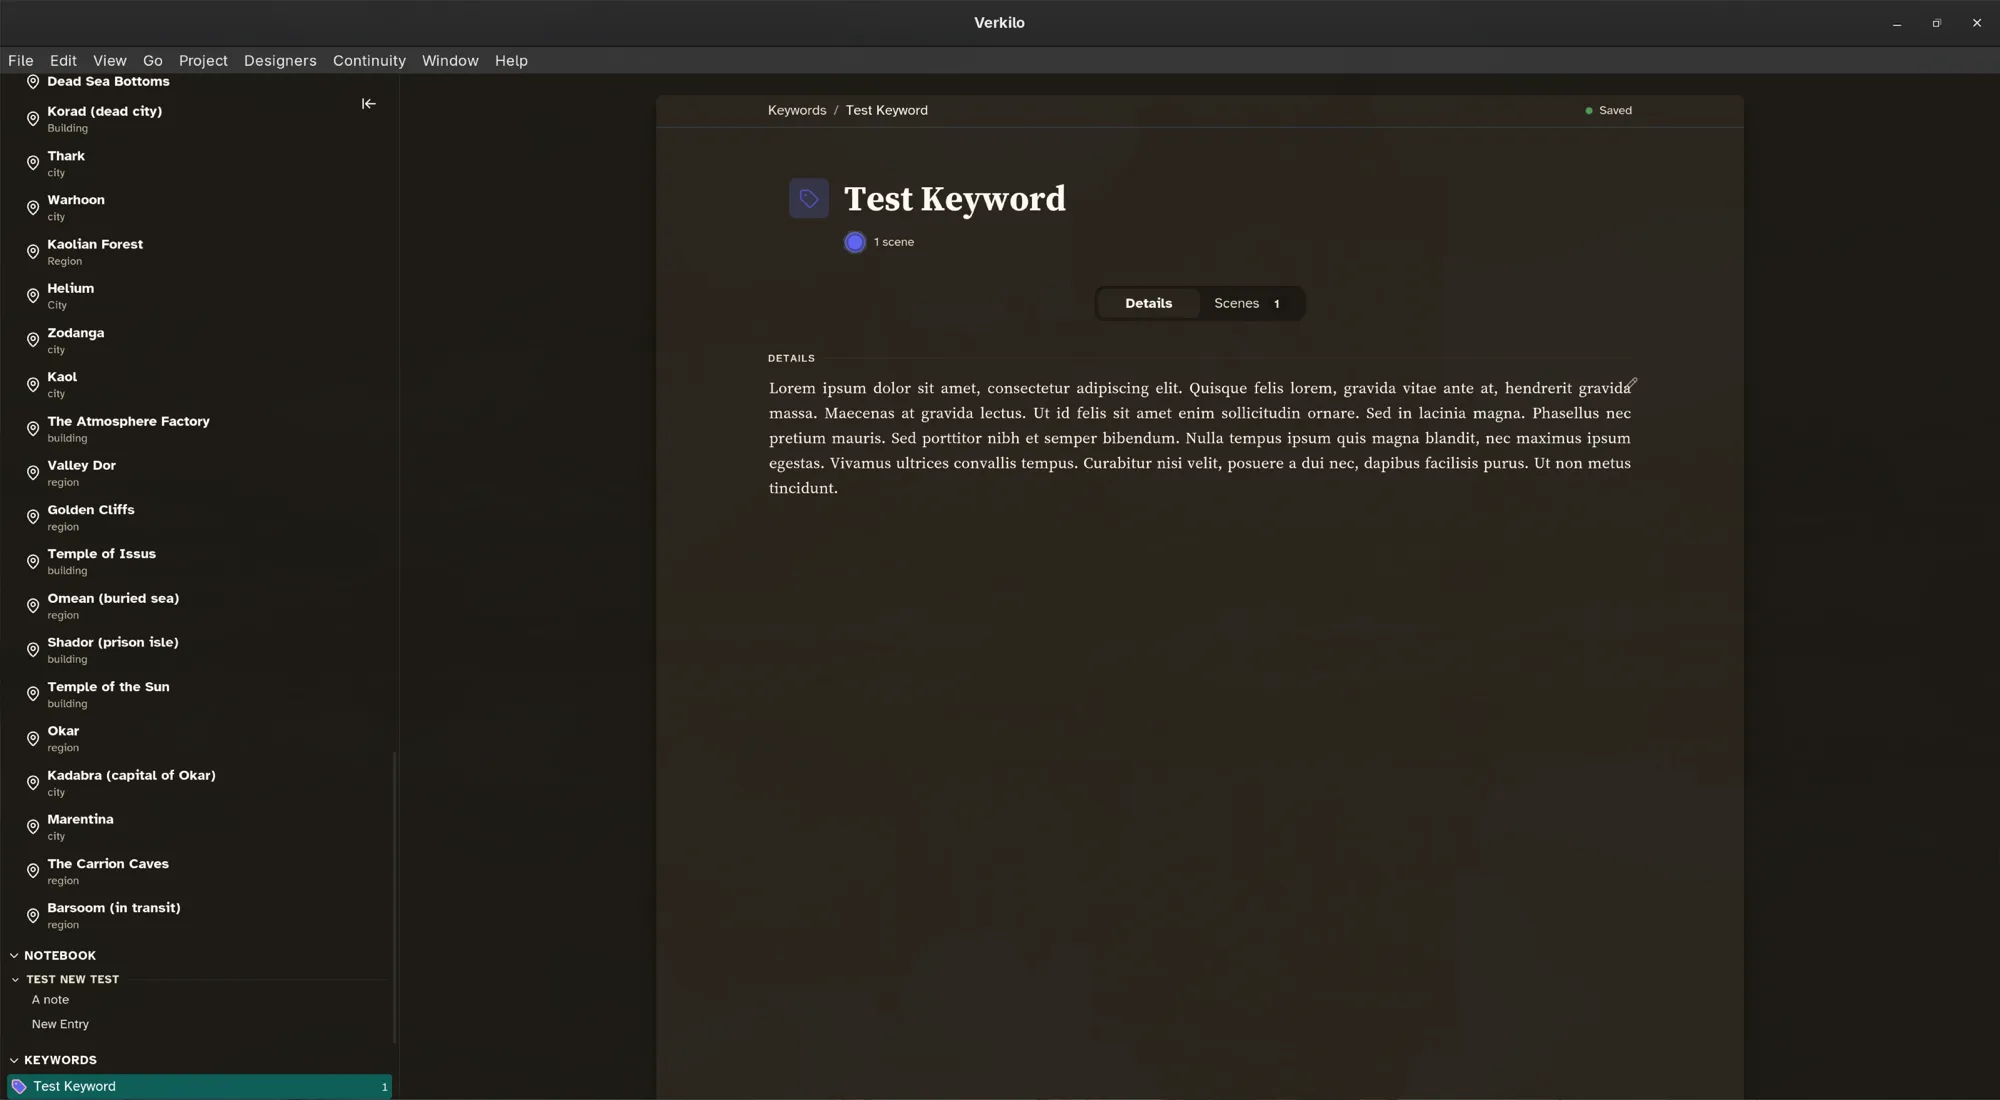
- In Details, write what the keyword means in your world and how you’re using it. Future you will not remember whether “the debt” meant the money or the favour.
Applying a keyword to a scene#
- Open the section in the editor.
- In the details panel, go to Section Details.
- Click Add keyword… and start typing.
- Pick the keyword from the list — or type a new name, and Verkilo creates it.
To remove one, click the ✕ on its chip. Right-click a chip for Quick View (the keyword’s full entry) or Remove from Section.
Seeing everywhere a keyword appears#
- Go to Keywords (
⌘6/Ctrl+6). - Select the keyword.
- Open its Scenes tab.
Every section carrying that keyword is listed, across every book in the project.
This is the view to open when you need to check that a thread pays off, or find the
last time an object was mentioned.
Tags and collections#
Keywords describe what a scene contains. Tags describe what a scene is — its status, its plot thread, its act. Tags are organised into named collections, so you can keep “Draft status” separate from “Subplot” instead of mixing them in one flat list.
Reach them from Collections (⌘7 / Ctrl+7), or from Manage Collections…
in a section’s details panel. Once a section is tagged, the Collections view filters
your scenes down to a single tag — the fastest way to revise one storyline end to
end. Pair that with the outliner to see the thread in order.
Using them well#
Keep your vocabulary small and consistent. A handful of well-chosen keywords is far more useful than dozens of one-off labels you’ll never search for again.