The editor
The editor is a focused writing surface designed for long-form prose. It handles the formatting a novel needs and stays quiet about everything else.
The bar above the page#
A bar runs along the top of the editor. From left to right:
- Where you are. A trail like Chapters › Chapter 3 › The Ambush shows the open scene and the chapter it sits in. Click an earlier step to open it.
- Editor, Corkboard, and Outliner. Switch how you see the book. The corkboard and outliner open right here, under the bar, in place of the page.
- Verkado. Opens every section of the current chapter as one continuous document, so you can read and revise the chapter straight through. Click it again to leave. It’s grayed out when the chapter has only one section.
- Full screen. Enters Composition mode, which
hides everything but the page. Press
Escto come back.
The section’s title isn’t repeated above the prose — the trail already shows it. To rename a section, double-click its name in the sidebar.
Below the page#
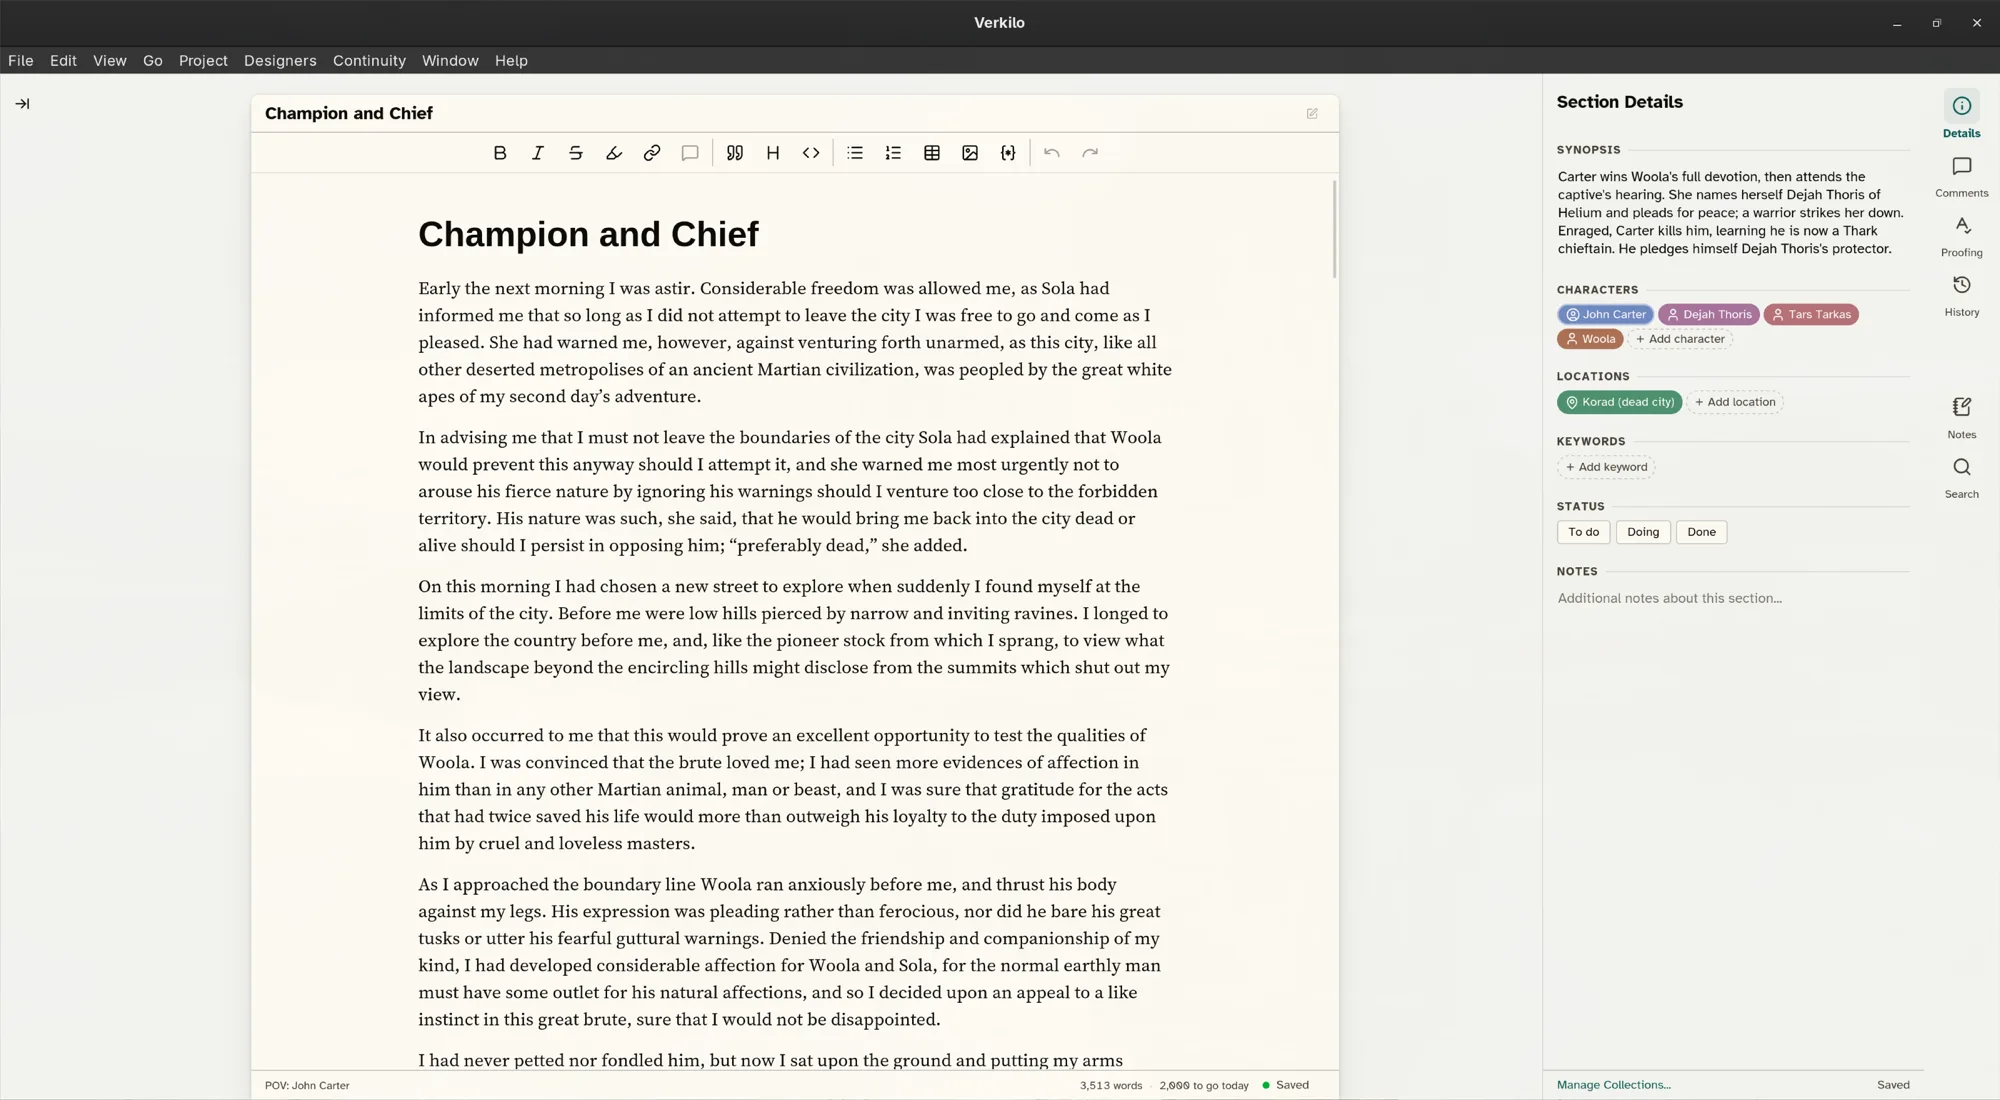
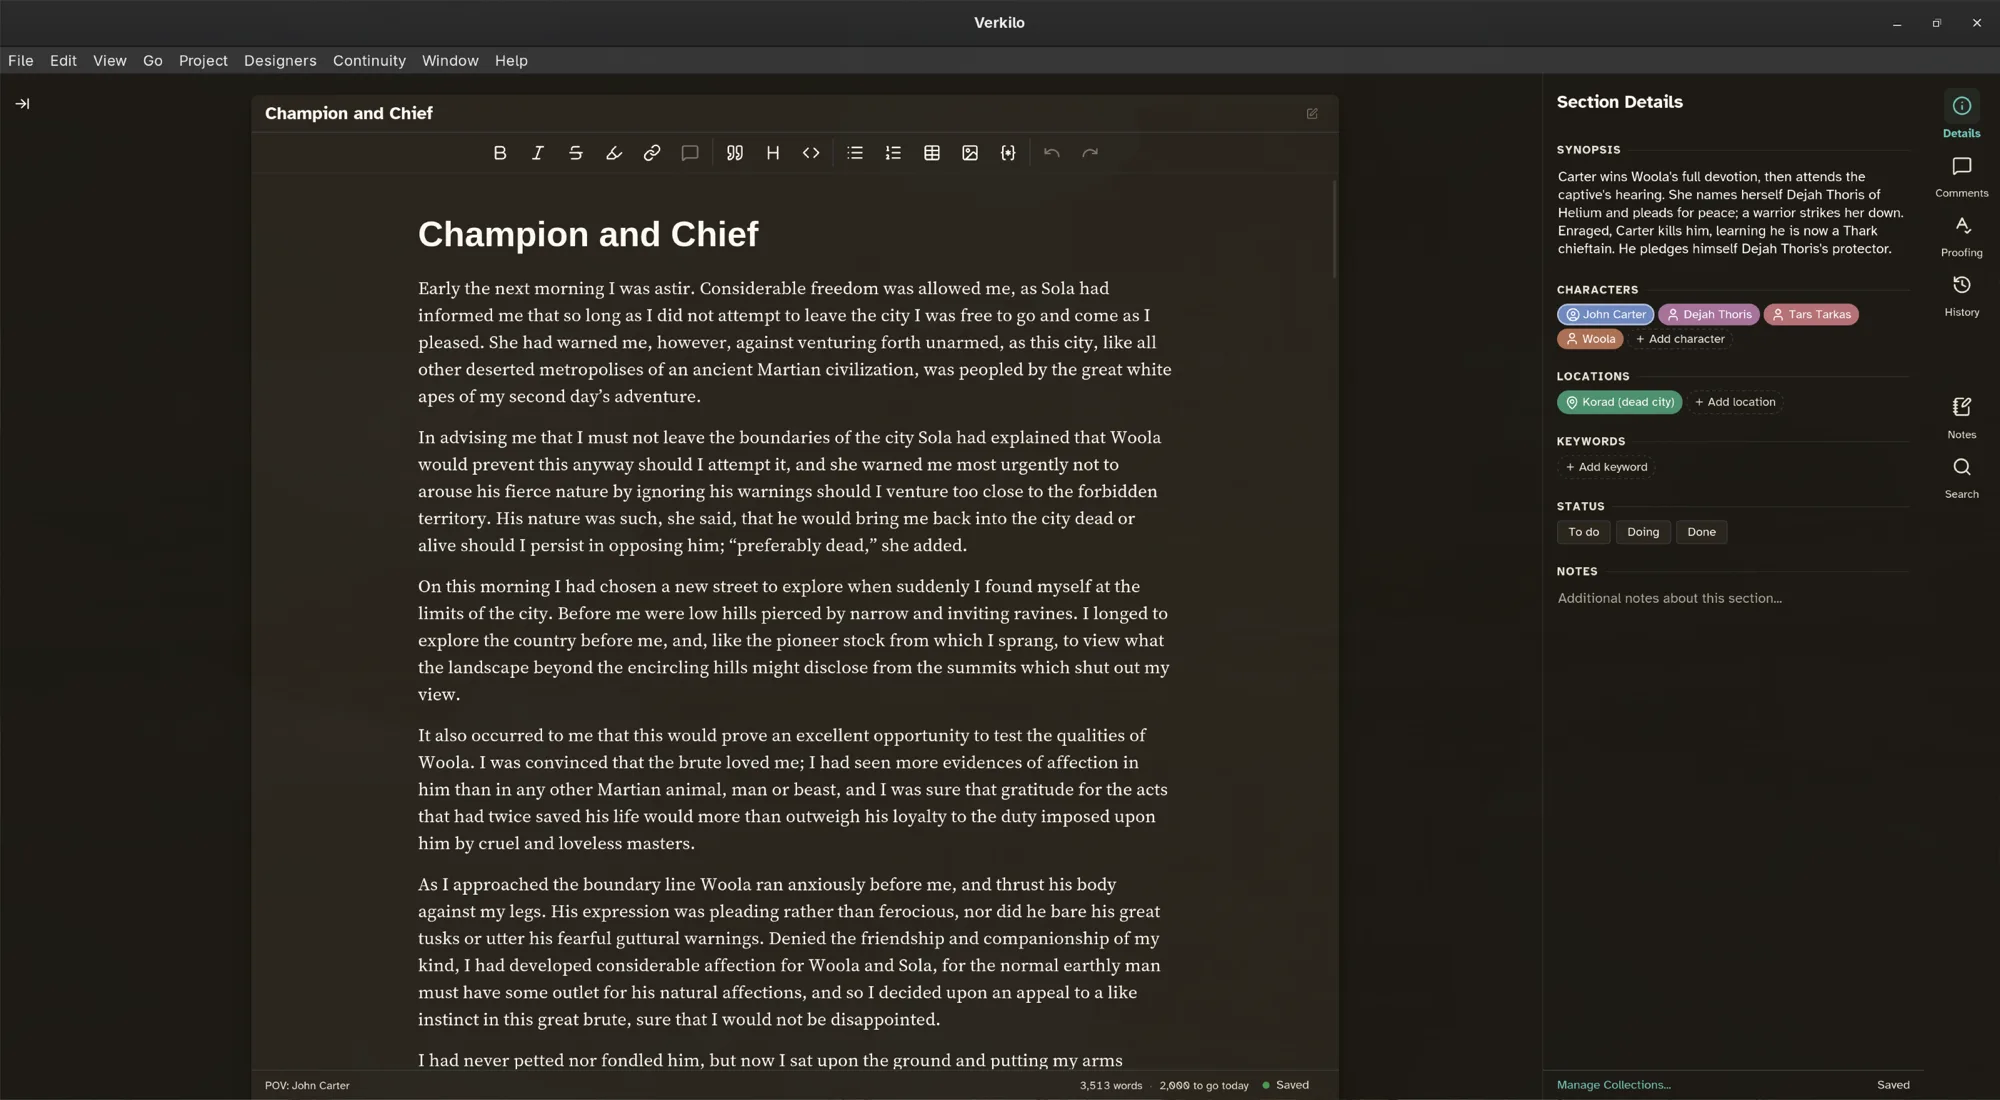
A line under the page tells you about the section you’re in:
- POV — the point-of-view character, once you’ve set one.
- Proofing — “No issues” or “3 issues” while a spelling and grammar check is running. Click it to see them.
- Words — the section’s length. Hover it for an estimated reading time.
- Saved — the autosave indicator, so you can see your work land.
Today’s total against your daily goal is in the status bar along the bottom of the window. See Word-count goals.
Formatting#
Fiction needs a short list of formatting, so the editor keeps one:
| To do this | Press | Or |
|---|---|---|
| Emphasis (italic) | ⌘I / Ctrl+I |
Right-click → Format → Italic |
| Strong emphasis (bold) | ⌘B / Ctrl+B |
Right-click → Format → Bold |
| Insert a scene break | ⌘⇧- / Ctrl+Shift+- |
Right-click → Format → Insert Scene Break |
| Insert a link | ⌘K / Ctrl+K |
— |
| Insert an image | — | Right-click → Format → Insert Image |
| Insert a table | — | Toolbar table button |
Typographic details like curly quotes and em-dashes are handled as you type, so your exports look professional without any cleanup. Tables survive every export — a true table in Word, a typeset table in PDF, clean tables in EPUB and Markdown.
Mentions and links#
Type @ and a character or place name to mention them in the text. The
mention shows the words you chose beside a small portrait (a map pin for
places), and it links the scene to that character or location in the
Series Bible automatically.
Type [[ to link to a notebook entry the same way — the link shows its text
beside a bookmark icon.
Click either one for its card: jump to the record, change the display text
(what prints in exports), or remove the link — the text stays in the
sentence. Ctrl/⌘-click jumps straight to the record. Backspace deletes a
mention or link like any other text.
Autosave#
There’s no save button. Verkilo continuously saves your work to the project on disk as you type.
File → Save (Backup) (⌘S / Ctrl+S) does something different: it writes a
separate backup copy of the whole project. Reach for it before a big restructure,
not to save your paragraph.
Snapshots#
A snapshot freezes the current text of a section so you can rewrite freely and still get the old version back.
To take one:
- Open the section you’re about to change.
- In the details panel on the right, switch to the Version History tab.
- Click Save Version.
- Type a label you’ll recognize later — “before cutting the flashback” beats “v2” — and confirm. The label is optional.
To go back to one:
- Open the section in the editor.
- Switch to the Version History tab.
- Click a version to preview its text.
- Click Restore this version to bring it back.
Splitting a long section#
When a scene turns out to be two scenes:
- Click in the text at the point where the new section should begin.
- Right-click and choose Split at Selection.
To name the new section from the text itself — useful after importing a long manuscript — select the line you want as its title, right-click, and choose Split with Selection as Title.
Finding text#
For the section you’re in:
- Press
⌘F/Ctrl+Fto open Find & Replace in the details panel. - Type in the Find… field. Matches highlight as you type.
- Narrow the search with Match Case and Match Whole Word if you need to.
- To change what you find, type in Replace with… and use Replace or Replace All in Section.
For the whole book, press ⌘⇧F / Ctrl+Shift+F (Edit → Find in Book) — the
same panel, searching every section. Replace All in Book applies a change
across the manuscript in one go, so take a snapshot first if it’s a big one.
Spelling and grammar#
When you’re ready to edit, right-click and choose Check Spelling & Grammar to have your prose checked entirely on your own computer — nothing leaves your machine. See Spelling and grammar for the details.